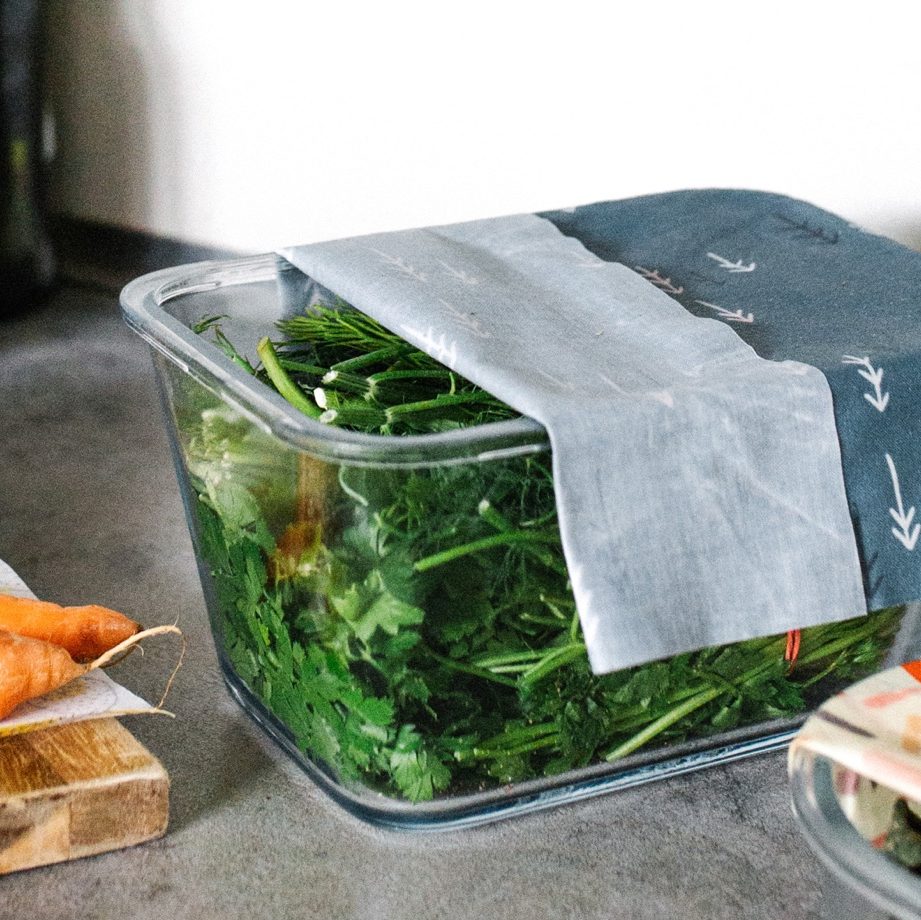
Reduce your plastic waste and upcycle old cotton scraps with this easy and eco-friendly DIY beeswax wrap.
Plastic sandwich bags: convenient or culprit? The answer — they’re both. It’s no secret plastic is a problem. But the ease of use, accessibility, and functionality of plastic Ziploc bags make them a high-ranking plastic pollution offender.
Studies show that in 2020, 9.71 million Americans used 21 or more plastic sandwich bags every seven days. While that’s lower than 2019 and 2018 numbers — 10.63 million and 11.43 million Americans, respectively — the environmental and human health impact is still enormous. And if we continue on this trajectory, it’s estimated that by 2050, the ocean will contain more plastic by weight than fish.
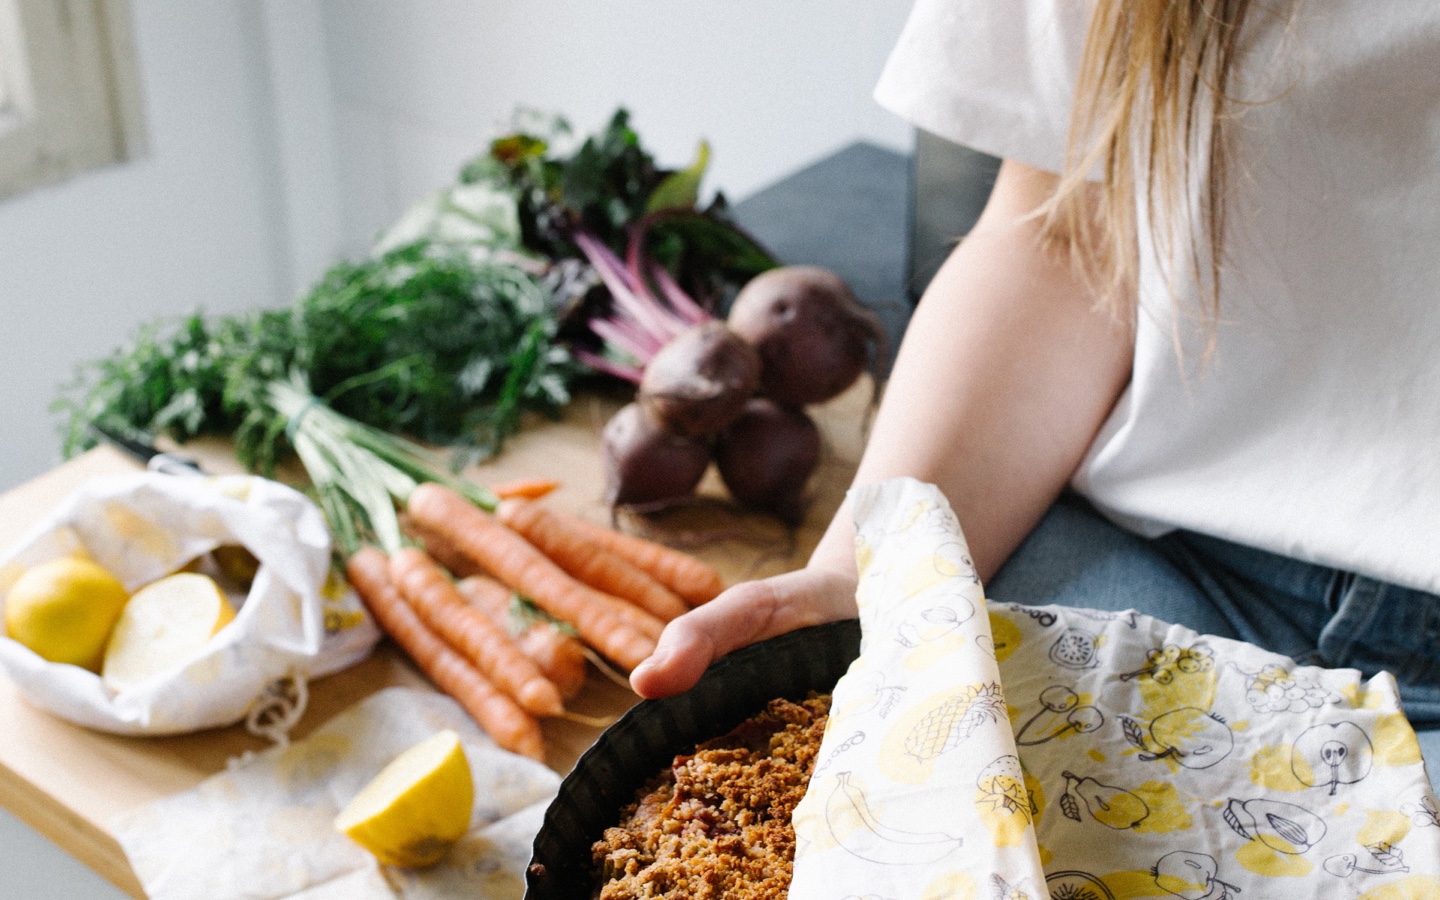
So instead of contributing to the literal pile of trash floating in the ocean, swap out your plastic baggies for sustainable, reusable, and 100 percent biodegradable beeswax wraps. These eco-friendly, breathable wraps keep your food fresher longer compared to plastic bags — which promote mold growth — can be used to top jars and bottles, and are perfect for wrapping leftovers, lunches, and fruits and vegetables.
Of course, there are plenty of beeswax wraps you can find online. But creating your own is more fun and less expensive and offers the opportunity for you to upcycle scrap cotton fabric, old clothing, or quilting squares you may have sitting around. Here’s how to make your own beeswax wraps in two easy methods.
Read more: We Need to Cancel Plastic Now
What you need:
- Scissors
- 100% cotton fabric (here’s where cotton scraps or an old t-shirt come in handy)
- Cosmetic-grade beeswax pellets
- Parchment paper
- Baking sheet
- Paintbrush
Instructions:
- Preheat the oven to 220 degrees.
- Cut cotton fabric into various sizes. A 6-inch by 6-inch square is great for covering mason jars, whereas a 7-inch by 14-inch makes the perfect snack bag, and a 14-inch by 14-inch piece is good for larger items like sandwiches, blocks of cheese, or individual desserts.
- Line the baking sheet with parchment paper. (Always use a new piece of parchment paper for each new piece of fabric.)
- If your fabric is patterned, place it on the baking sheet pattern side down.
- Evenly distribute beeswax pellets over the fabric, ensuring there are pellets near all the edges.
- Place in the oven for 4 to 8 minutes.
- Once all of the pellets have melted, remove the baking sheet from the oven. Use the paintbrush to quickly spread the wax over the fabric in one even coat.
- Allow to cool and you’re done!
Read more: Your DIY Guide to Naturally Dyeing Your Clothes
What you need:
- Scissors
- 100% cotton fabric
- Cosmetic-grade beeswax pellets
- Parchment paper
- Aluminum foil
- Ironing board
- Iron
Instructions:
- Cut cotton fabric into desired sizes.
- Add a protective barrier to your ironing board by covering it with aluminum foil.
- Place the fabric on the aluminum foil pattern side down.
- Evenly distribute beeswax pellets over the fabric, ensuring there are pellets near all the edges.
- Cover the fabric and beeswax pellets with parchment paper.
- Turn your iron on and place it on the high heat setting.
- Once hot, gently press and rub the cloth starting from the center and working outward until the beeswax pellets are completely melted and your fabric is saturated with the wax.
- Allow to cool and enjoy!
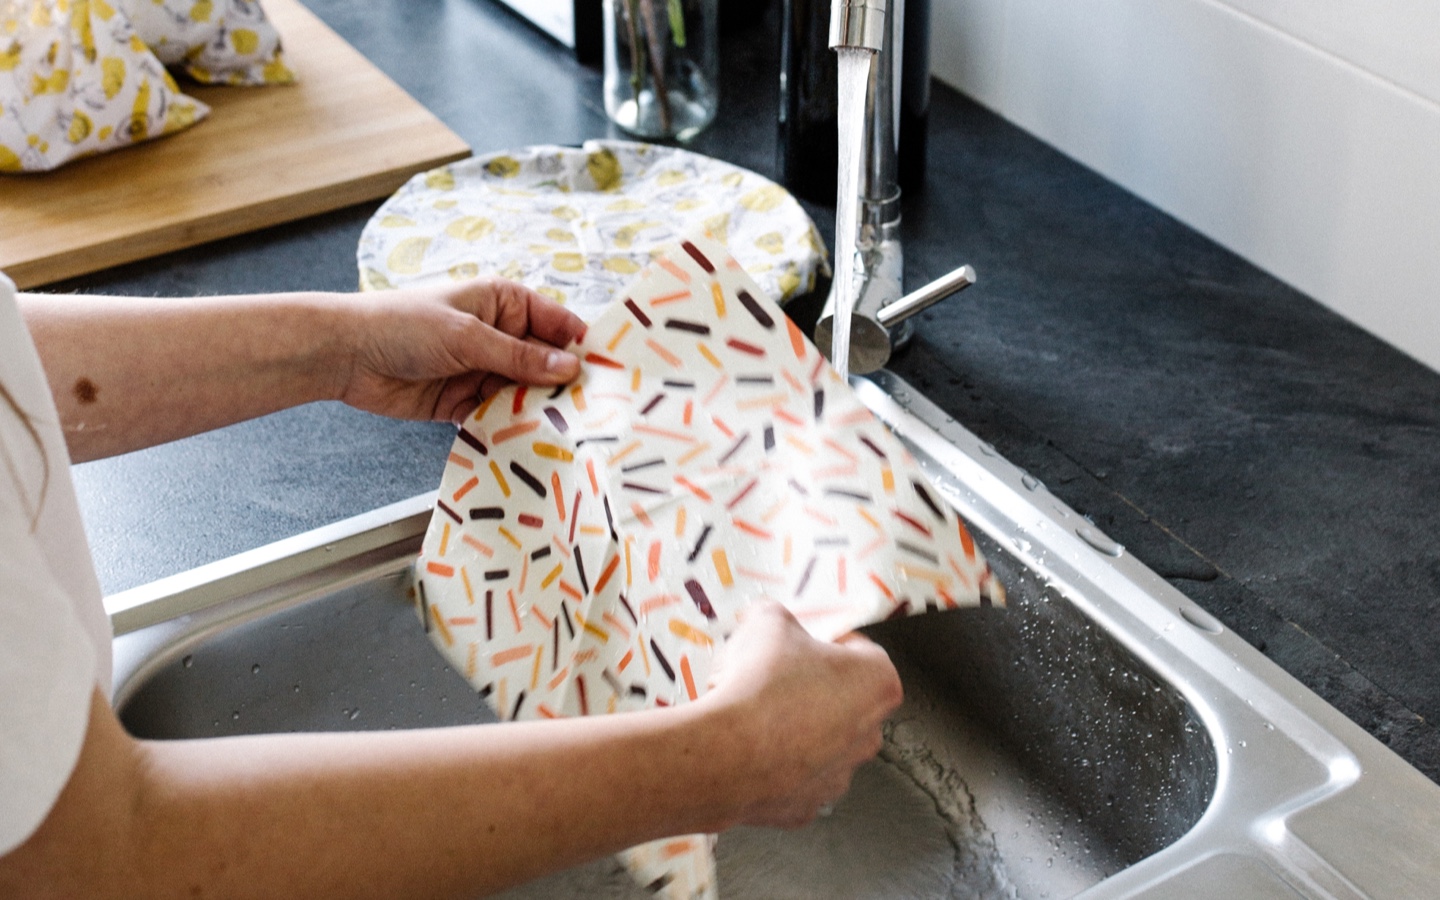
With frequent use, your beeswax wraps will start to lose their cling (typically in about three to six months). When that inevitably happens, simply add a new coat of beeswax using your favorite DIY method and your reusable wrap will be like new again.
Read more: DIY Wooden Plant Stand
Have feedback on our story? Email us at [email protected] to let us know what you think!
Shop Pillows
The Essential Organic Pillow Collection
Gentle, breathable, non-toxic support.


