


With any luck, the last of winter is finally behind us, with nothing but April showers and May flowers to look forward to. But before those flowers can bloom, you’ve got to plant some seedlings!
Whether you’re an avid gardener or simply someone who appreciates having fresh herbs at the ready (who doesn’t?), now is the time to start thinking about starting your spring seedlings. While some seeds can be placed directly into the earth, in most cooler regions it’s advisable to start your seedlings indoors to give them a head start and fighting chance against weather conditions, pests and hungry rabbits and deer. Though Mother Nature makes it look easy, it’s actually hard for a little plant to survive out in the world — by starting seeds indoors, they’re able to start life in a stable environment, free from weather fluctuations and other factors, before their eventual transfer to your outdoor garden. The one major exception being root vegetables, which are placed directly in the earth.
According to the Farmer’s Almanac, seedlings should be started about six to eight weeks before the last frost of the season in your area. Because temperatures vary so drastically, this could mean a variety of times across the US. Lucky for us, they’ve provided a handy chart for each state, along with growing guides for specific vegetables, so you can sort by the type of garden you’re planning and plant accordingly. Once you’ve determined when to start your seedlings, it’s time to get planting!
Shop for Seeds
After determining a rough time frame for when you should start your seedlings indoors, it’s time to decide exactly what you’ll plant. Seeds come in a huge array of varieties with several factors to choose between – do you want heirloom organic, conventional? Read up on different varieties and what might work for you by browsing seed catalogs and reading seed packages. Then, once you’ve gained some insight into what’s out there, make a list of what you want to plant and get ordering! Rare Seeds is an excellent source for heirloom seeds and unique and hard to find varieties, while Burpee Seeds is a gardener’s classic offering a huge selection to choose from. Remember, not all your seedlings will make it to the end, so plan to plant just a bit more than you’ll need.
Once you receive your seeds, be sure to check for any special preparations. Some seeds require soaking, chilling or scratching for successful germination.
Gather Your Supplies
Along with seeds, you’ll need:
- A seedling-specific potting mix (regular soil is not recommended, try peat moss mixed with perlite and vermiculite instead).
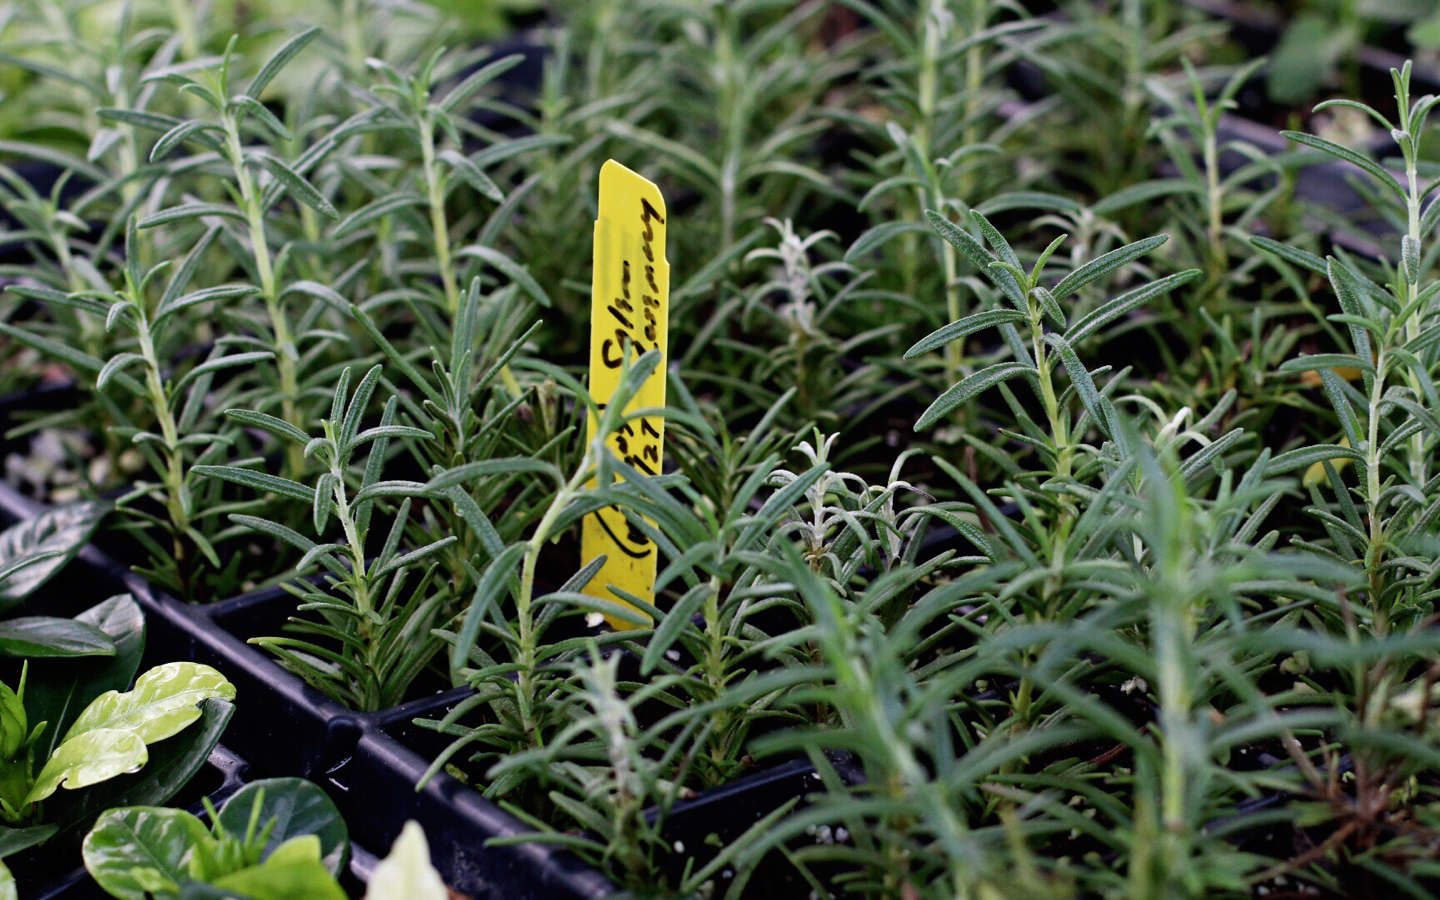
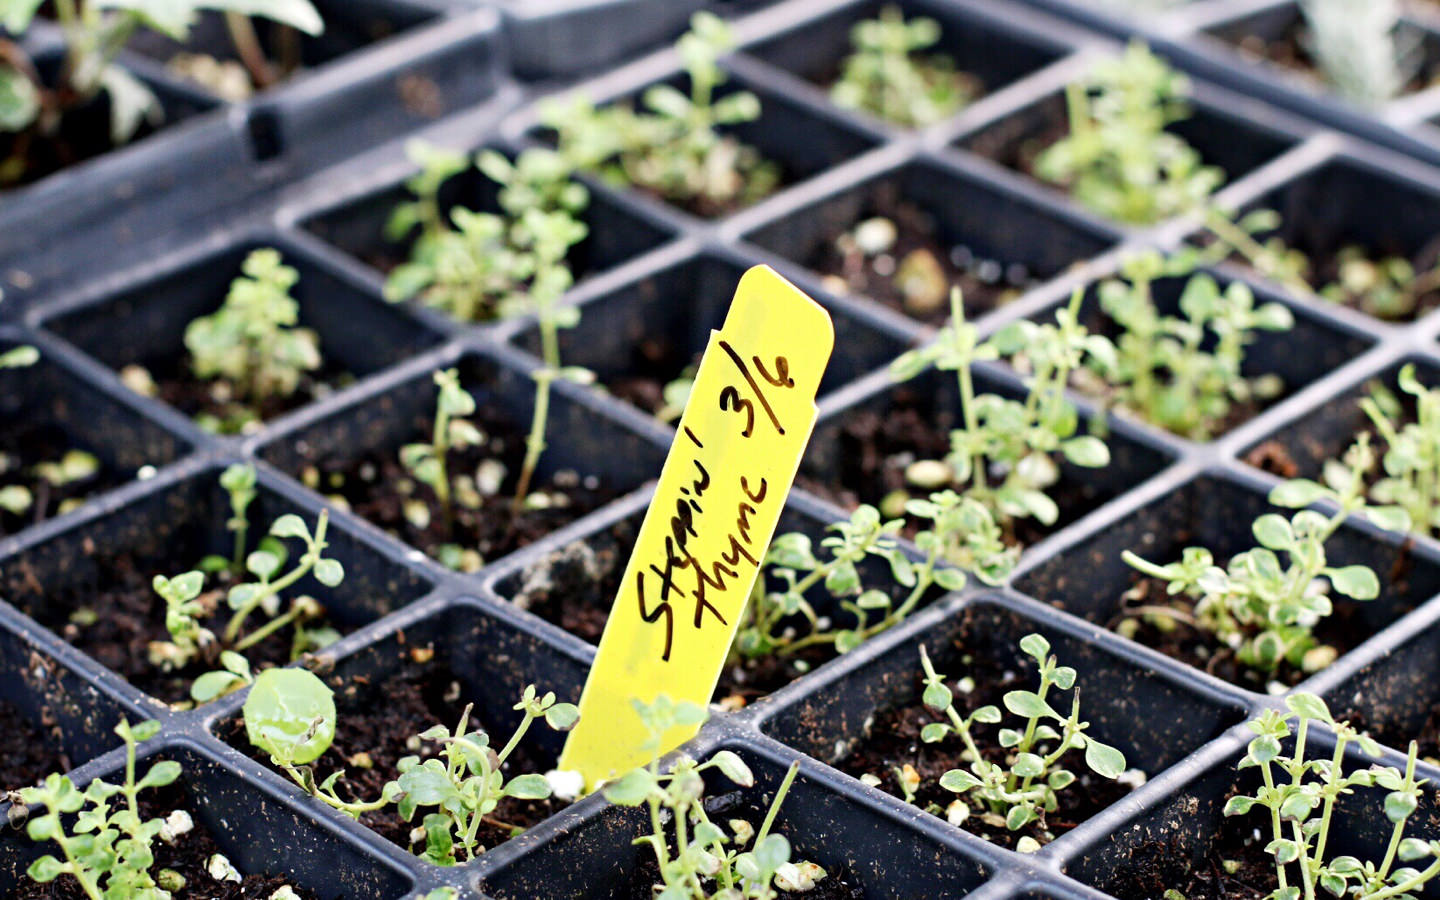
- Small pots for your seedlings to be planted in. Biodegradable peat pots are a great choice, an even better one would be recycled cardboard eggs cartons.
- A bucket to mix the potting mix in
- Plastic wrap to cover your seedlings with.
- A warm and protected spot to place your seedling trays once planted. The top of your fridge is a good place, as long as it’s warm.
- Water!
Getting started
Once you’ve gathered your supplies, it’s time to get your hands dirty!
- Pour the readymade potting mix (or peat, vermiculite and perlite) into the bucket and dampen with water. Mix with your hands to evenly disperse the water.
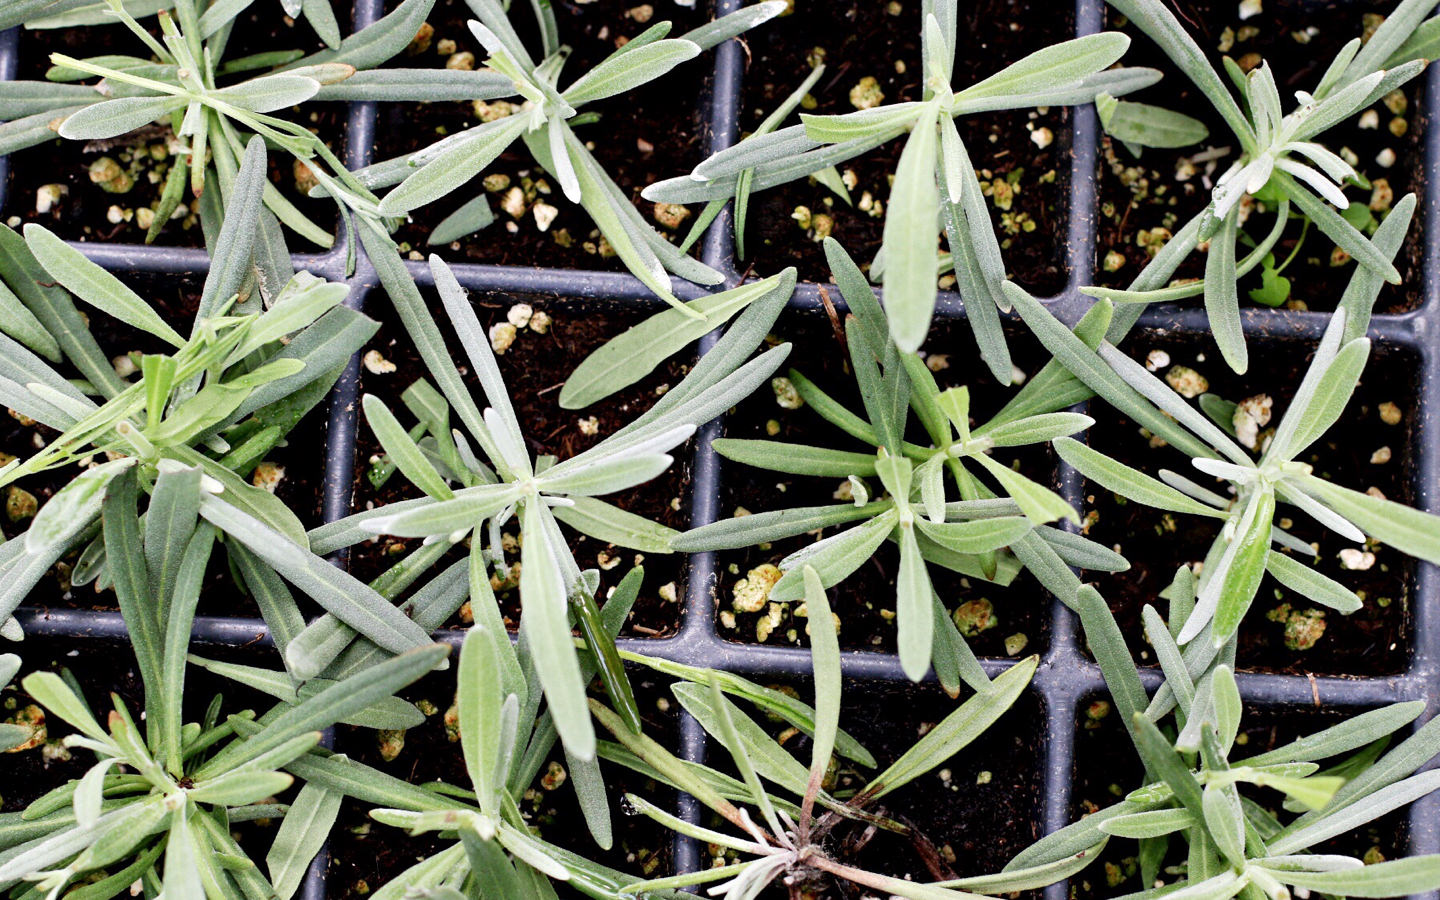
- Fill each container with soil mix.
- Plant your seeds. You’ll likely not need all the seeds in each packet, so you’ll want to choose the largest seeds for best results. Use a toothpick or eraser end of a pencil to gently push each seed into the mix and gently cover with a small amount of soil.
- Cover your pots with plastic wrap and poke a few holes in it to allow for airflow. Water according to the seed packets being careful to not disturb the soil too much.
- Once your seedlings have sprouted, it’s safe to remove the plastic and move them into a bright and sunny spot. Keep watering according to directions until they get their second set of leaves.
- Once the second set of leaves appear, your seedlings can be transferred to larger pots with a bit of compost mixed into the soil for added nutrients. If you don’t have compost at the ready, check your local listings for cooperatives, most cities have composting programs (and most neighborhoods have that one neighbor —maybe it’s even you!)
Harden Off
About a week before you plan to transplant your seedlings outdoors, you’ll want to harden them off. Think of this as your seedling’s introduction to the tough world out there, if they’re going to survive The Garden, they’ve got to create some defense mechanisms! Hey, sometimes you gotta give tough love. During the last week inside, water less often and occasionally place the pots outdoors for a few hours at a time in partial sun and away from wind. Be sure to keep them well-watered when outdoors.

Transplant
They grow up so fast! When the time comes to finally transplant your seedlings in your garden, transplant them into well-aerated, loose soil and water each one after replanting. You may want to give them a bit of starter fertilizer, too, to ensure enough phosphorus reaches the root zone to create strong development.
Now that your plants are planted, you can kick back and relax, right? Nope! Not even close. You’ll want to keep a close eye on your plants everyday, removing any weeds that may grow (weeds can choke out plants and steal valuable nutrients), watering daily, and covering them at night if frost is suddenly in the forecast (hey, mother nature is a fickle beast). With luck and work, your seedlings will thrive into full-fledged veg-bearing plants! Good luck!
Do you have a garden? Any top tips for starting seedlings? Please share by tagging us with @AvocadoMattress or #AvocadoGreenMagazine

Shop Pillows
The Essential Organic Pillow Collection
Gentle, breathable, non-toxic support.