


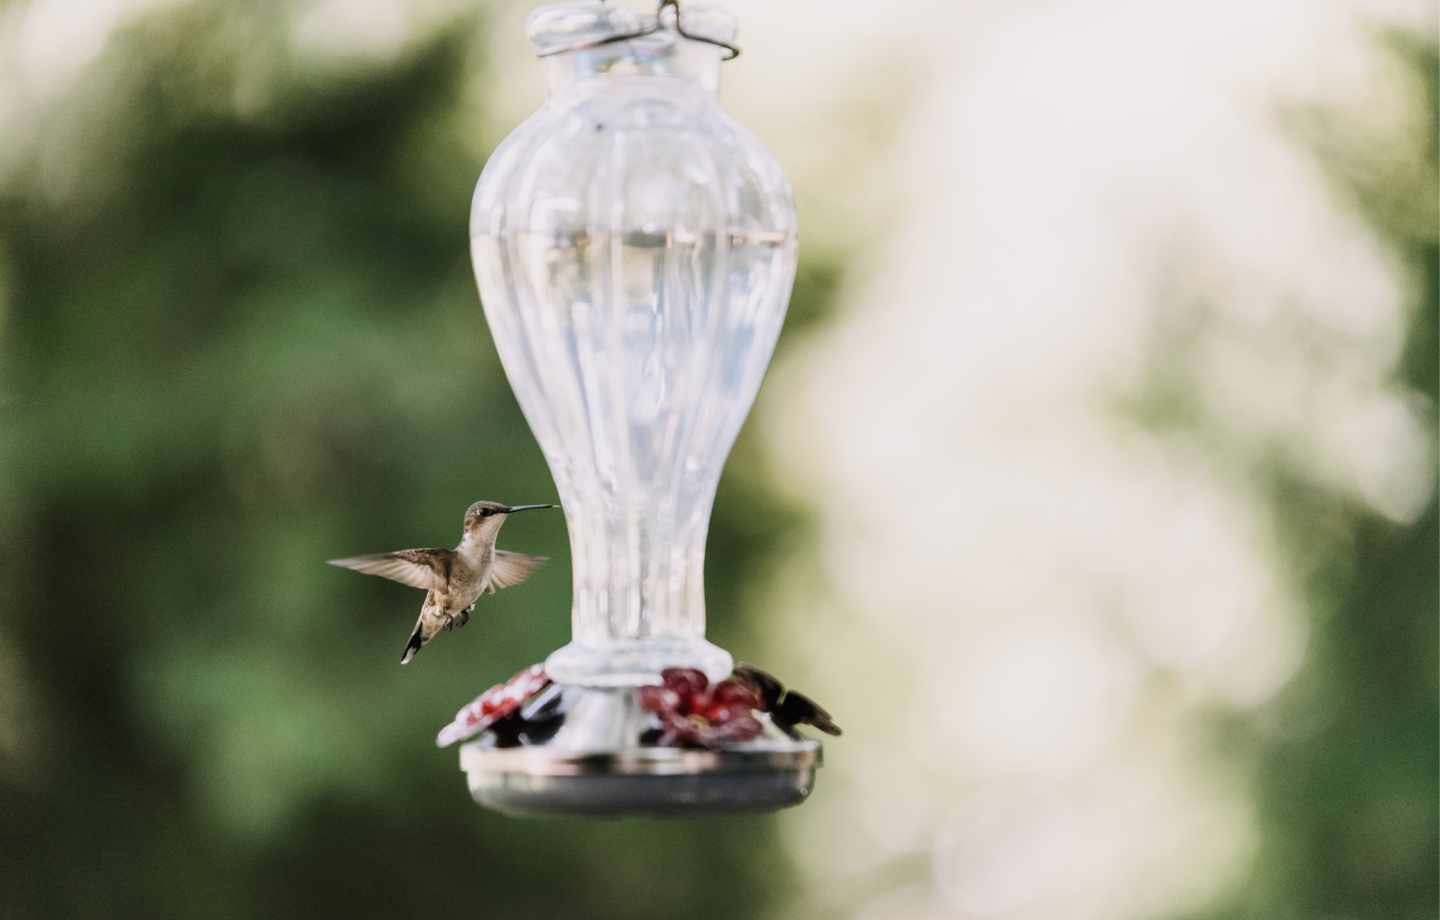
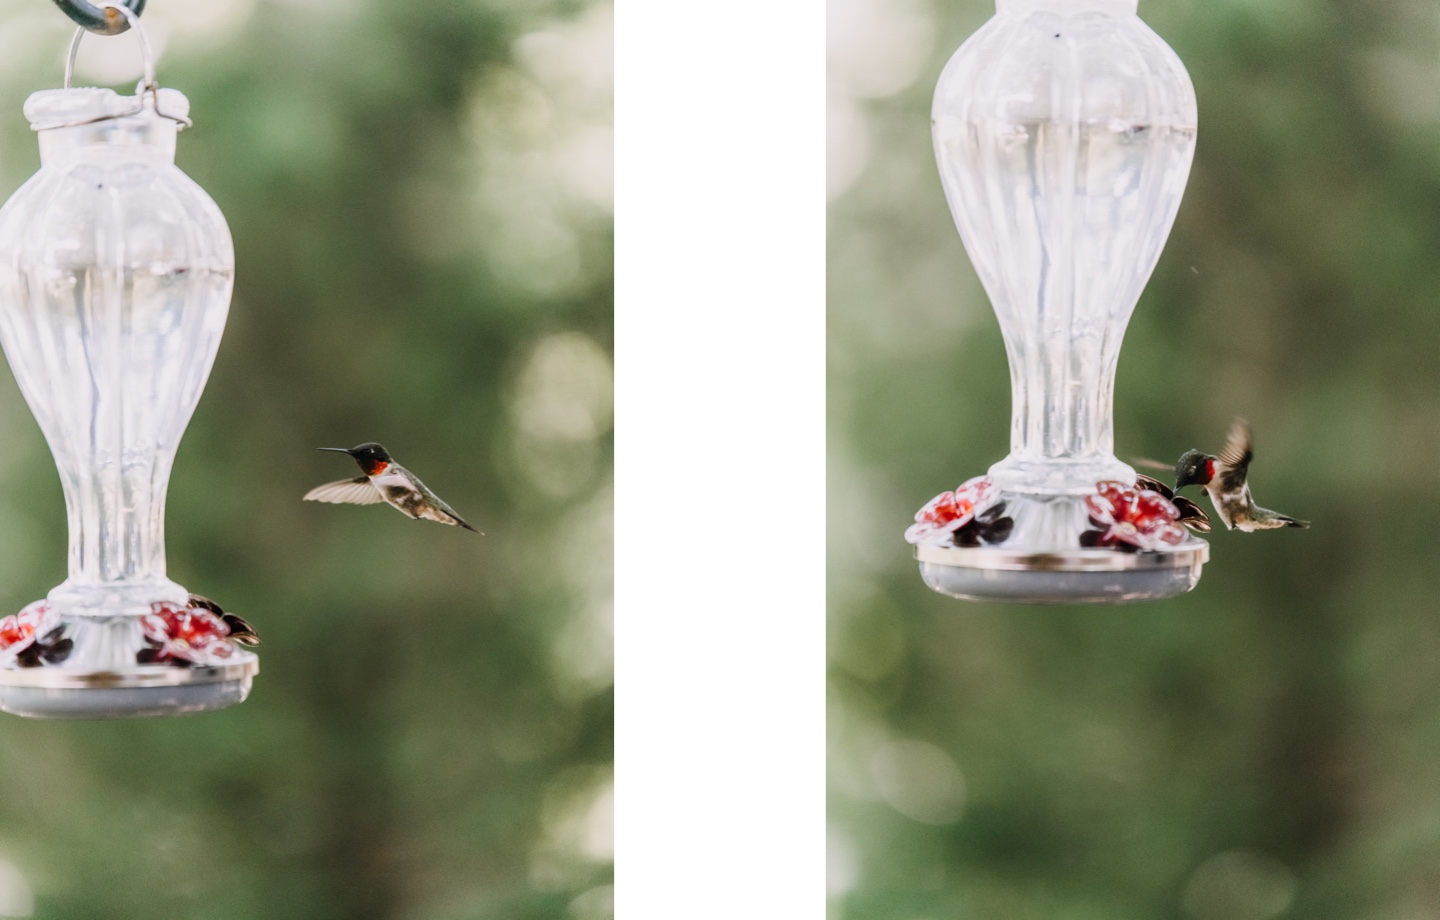
Upcycle materials you already have and attract these stunning birds to your garden. Here’s how to make your own DIY hummingbird feeder.
If you plant flowers in the spring and summer, you’ve probably spotted a hummingbird appreciating your garden. And there’s a good reason these vibrant miniature visitors love flitting among your blooms. Hummingbirds rely on native flowers like honeysuckle and larkspur to keep up with their crazy fast metabolism — they visit up to 1,000 plants a day, consuming up to half their weight in nectar in that time. All the while, they act as excellent pollinators.
But the species of hummingbird you see in your yard or on your terrace depends on the region you live in. There are 15 types of hummingbirds in the U.S. West Coasters are familiar with Anna’s Hummingbird — a species known for its rose-pink throat — while those on the East Coast are frequented by the Ruby-throated Hummingbird, distinguished by an emerald green back and red throat.
In addition to flowers, the best way to ensure a hummingbird stops by is to hang a few hummingbird feeders outside. The more feeders, the more likely you are to attract multiple hummingbirds, since they’ll have more space to feed. Once you have a few regulars, expect them to come back for every warm weather season. Thanks to their incredible spatial memory, hummingbirds remember feeder locations and will return to their favorite nectar-rich havens year after year.
Even better, hummingbird feeders are easy to make with items you already have at home. Here’s how.
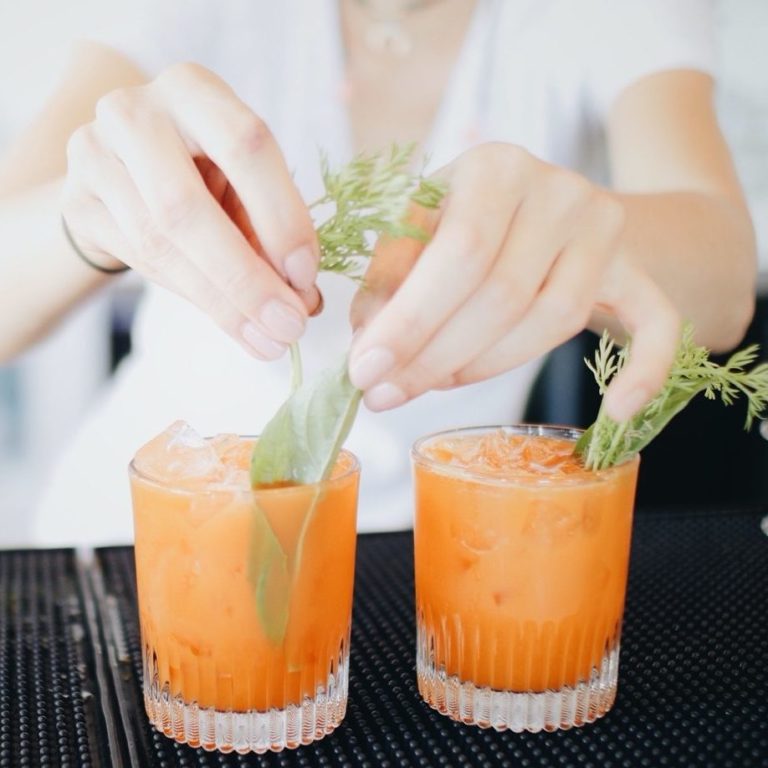
Yield: 4 cups
Ingredients
- 4 cups tap water
- 1 cup white granulated sugar
Instructions
- Add water to a pot on the stove and bring to a boil.
- Allow to boil for one minute.
- Remove the water from heat and add sugar. Gently stir until sugar is dissolved.
- Allow to cool until the mixture has reached room temperature.
- Add to your hummingbird feeder!
Adapted from Treehugger.com
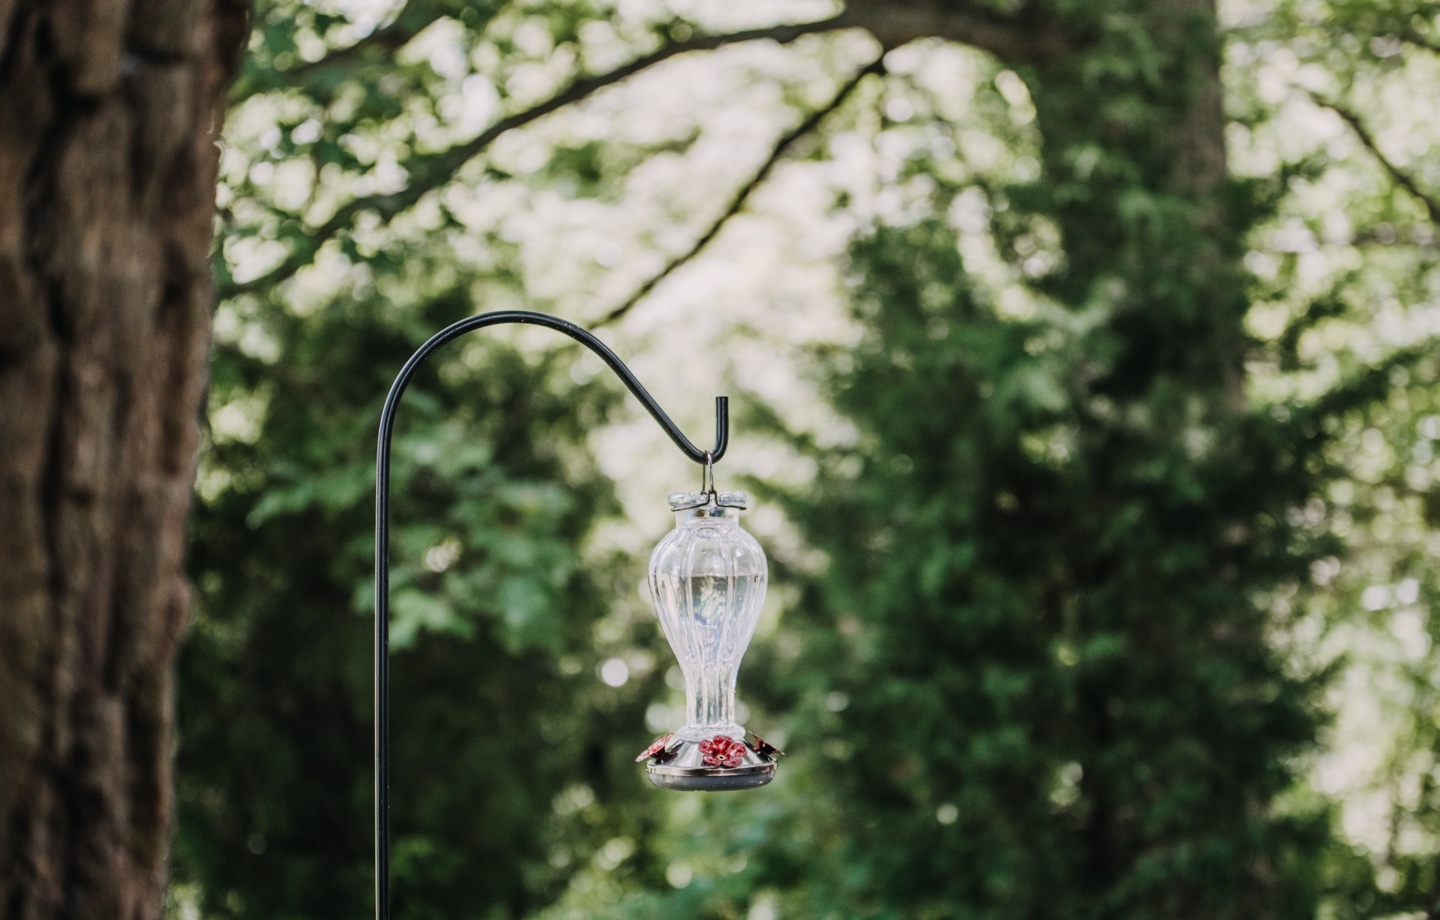
Materials
- 1 curved metal straw
- Food-safe caulk or sealant
- Sturdy, empty 12 oz. bottle with cap
- 1 metal coat hanger
- Drill with ⅛-inch drill bit
- Ruler or tape measure
Instructions
- Make hummingbird nectar.
- Sterilize the metal straw in boiling water.
- Drill a hole in the center of the bottle cap.
- Insert the metal straw curve side first through the hole in the cap, leaving about four inches on the inner side of the cap.
- Use the caulk to seal both sides of the cap to secure the straw. Let it dry for 24 hours.
- Straighten out the metal hanger.
- Turn the bottle upside down. Starting at the spout, wrap the wire hanger around the bottle, working the hooked end around the rest of the container.
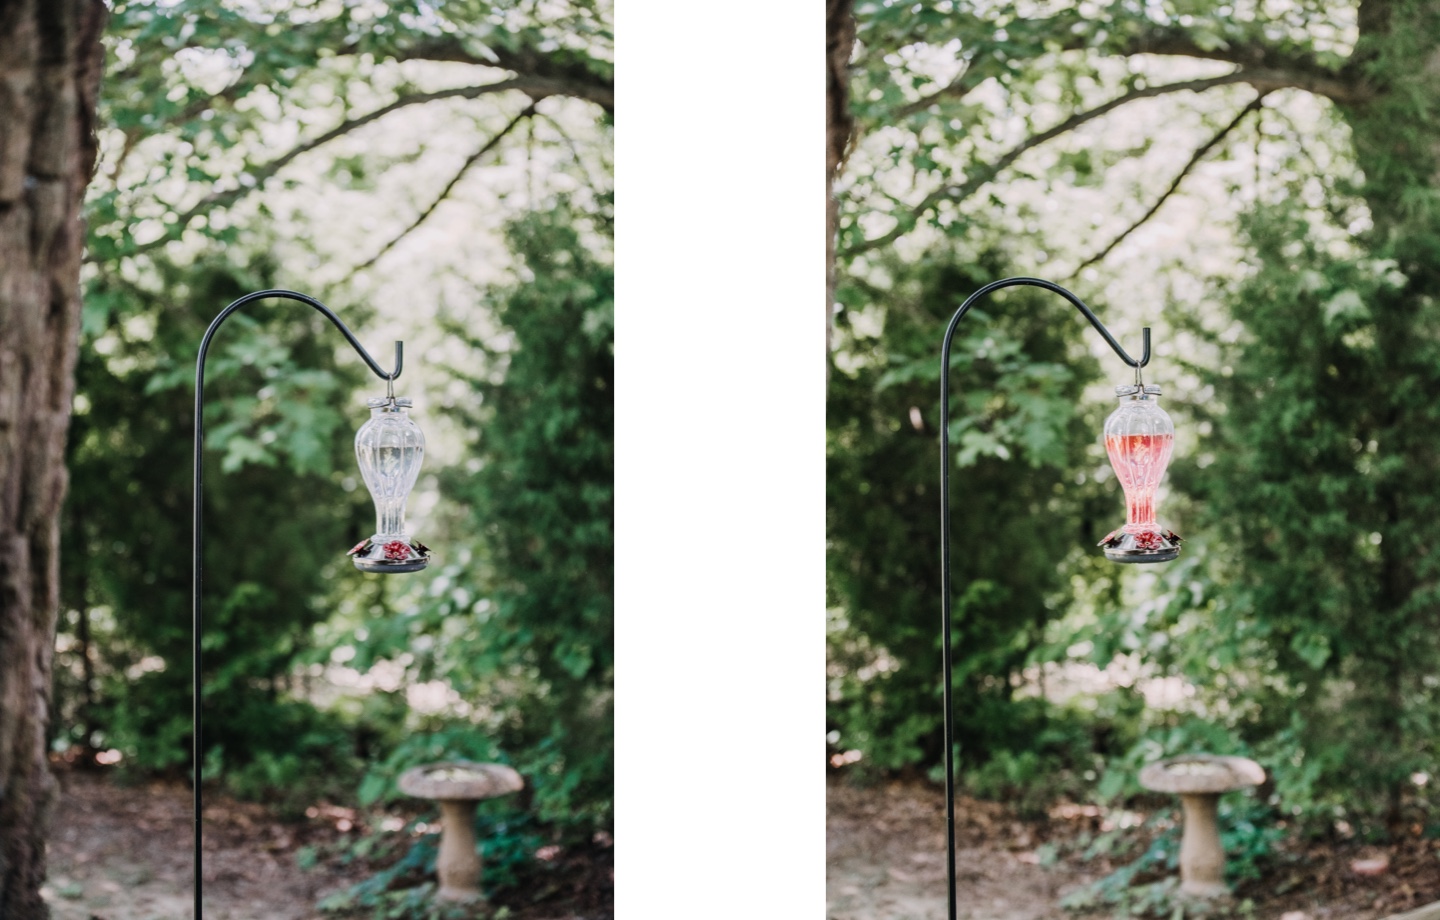
- Flip the bottle right side up and fill it with hummingbird nectar.
- Hang outside and get ready to spot some hummingbirds!
Materials
- 4 oz. mason jar
- 1 piece of red construction paper
- Pen or marker
- Hole punch
- Jute twine
- Hot glue and glue gun
- Tape measure or ruler
- Scissors
Instructions
- Make hummingbird nectar.
- Remove the lid and metal disk from the mason jar.
- Place the metal disk on the red construction and trace a circle around the edge of the lid.
- Cut out the circle you just drew.
- Using the hole punch, create four equally-spaced holes near the center of the construction paper circle.
- Fill mason jar with nectar.
- Place the construction paper circle on the top of the jar and screw the lid back on to secure it.
- Using the hot glue gun, add a drop of hot glue to the mason jar under the glass lip at the base of the lid. Secure the jute twine by pressing the loose end into the glue.
- Wrap the jute twine around the jar a few times, making sure it stays under the glass lip.
- Secure the jute twine again on one side with hot glue.
- Tie a knot above the drop of hot glue.
- Measure 7 to 8 inches of twine from the knot. This will be your handle for hanging.
- On the opposite side of the jar, secure the end of the length of jute twine you just measured using hot glue.
- Tie a knot over the drop of hot glue.
- Wrap jute around the mason jar until the knots are covered.
- Cut the end of the jute twine. Use hot glue to secure it on top of the layers you’ve wrapped around the jar.
- Hang outside for the hummingbirds to enjoy!
Have feedback on our story? Email [email protected] to let us know what you think!
Shop Pillows
The Essential Organic Pillow Collection
Gentle, breathable, non-toxic support.