


Not to scare you too much, but Halloween is just under three weeks away — we’re just as shocked as you! Celebrated across the world on October 31st, Halloween — or All Hallows Eve — is, traditionally, a day meant to honor those who passed before us, but more popularly is celebrated for something else entirely: costumes and candy. Decorating for the day includes all sorts of spooky sights, from black cats to bats, and of course, pumpkins. Polka dotted across porches, sidewalks and steps, pumpkins pop up in late September as fall decor and later, are ubiquitous as Halloween decorations.
The origin of jack-o-lanterns
But have you ever stopped to wonder why we carve pumpkins on Halloween in the first place? Or just where the tradition of jack-o-lanterns came from? Named after the odd lights often seen flashing over peat bogs, called will-o’-the-wisp or jack-o’-lantern, the carved pumpkins that we know today are believed to have originated in Ireland and parts of Gaelic regions in the 19th century.
Pumpkins, gourds and sometimes turnips (yes, really… turnips) were carved to represent the souls of the dead thought to roam on Halloween, or else ward them off. Eventually, jack-o-lanterns made their way stateside, popping up in Washington Irving’s The Legend of Sleepy Hollow and eventually cementing their place as a Halloween essential.
Pretty pumpkins, pronto
We get it though, not everyone is keen on carving up pumpkins for Halloween. If just thinking about how you’ll decorate your digs for all those trick-or-treaters this year gives you nightmares, no fear. You don’t have to be a jack-o-lantern lover to create unique, eye-catching Halloween decor.
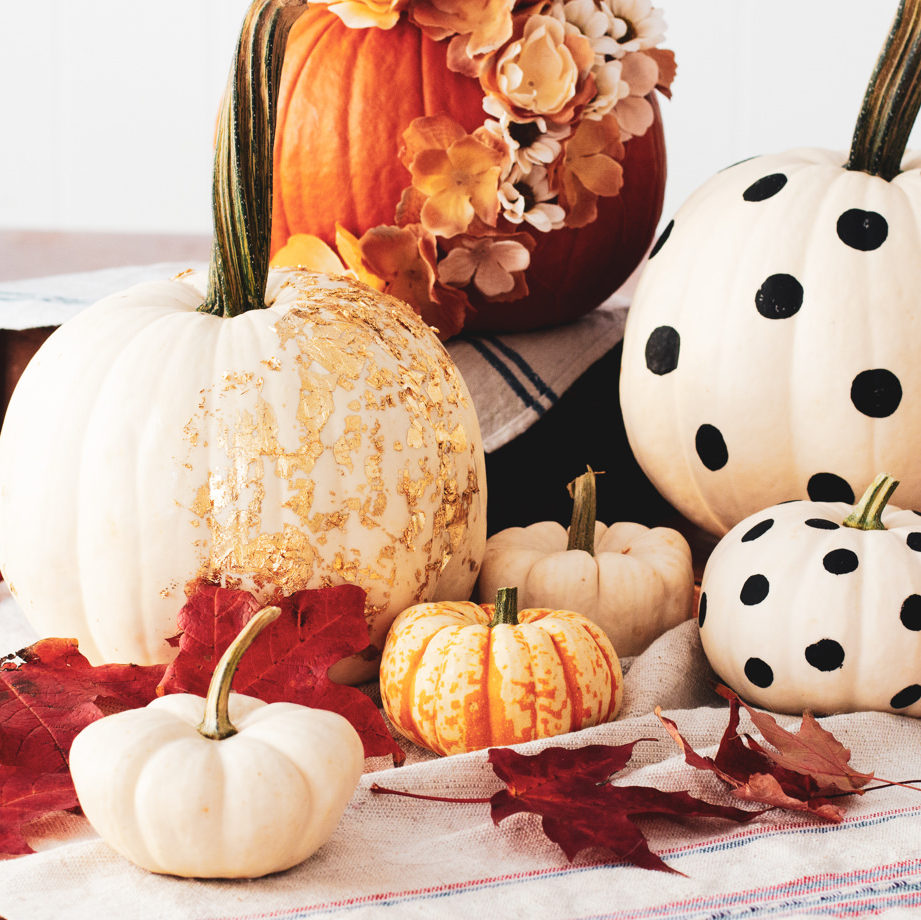
Today we’re sharing three super simple ways to decorate pumpkins for Halloween. The best part? These are no-carve pumpkin DIYS — that’s right, no knives are needed to complete these projects, and all can be completed in about 10 minutes. Ready to make your Halloween nightmares dreams come true? Read on to grab the how-tos, then pop over to your local pumpkin patch to pick up your materials!
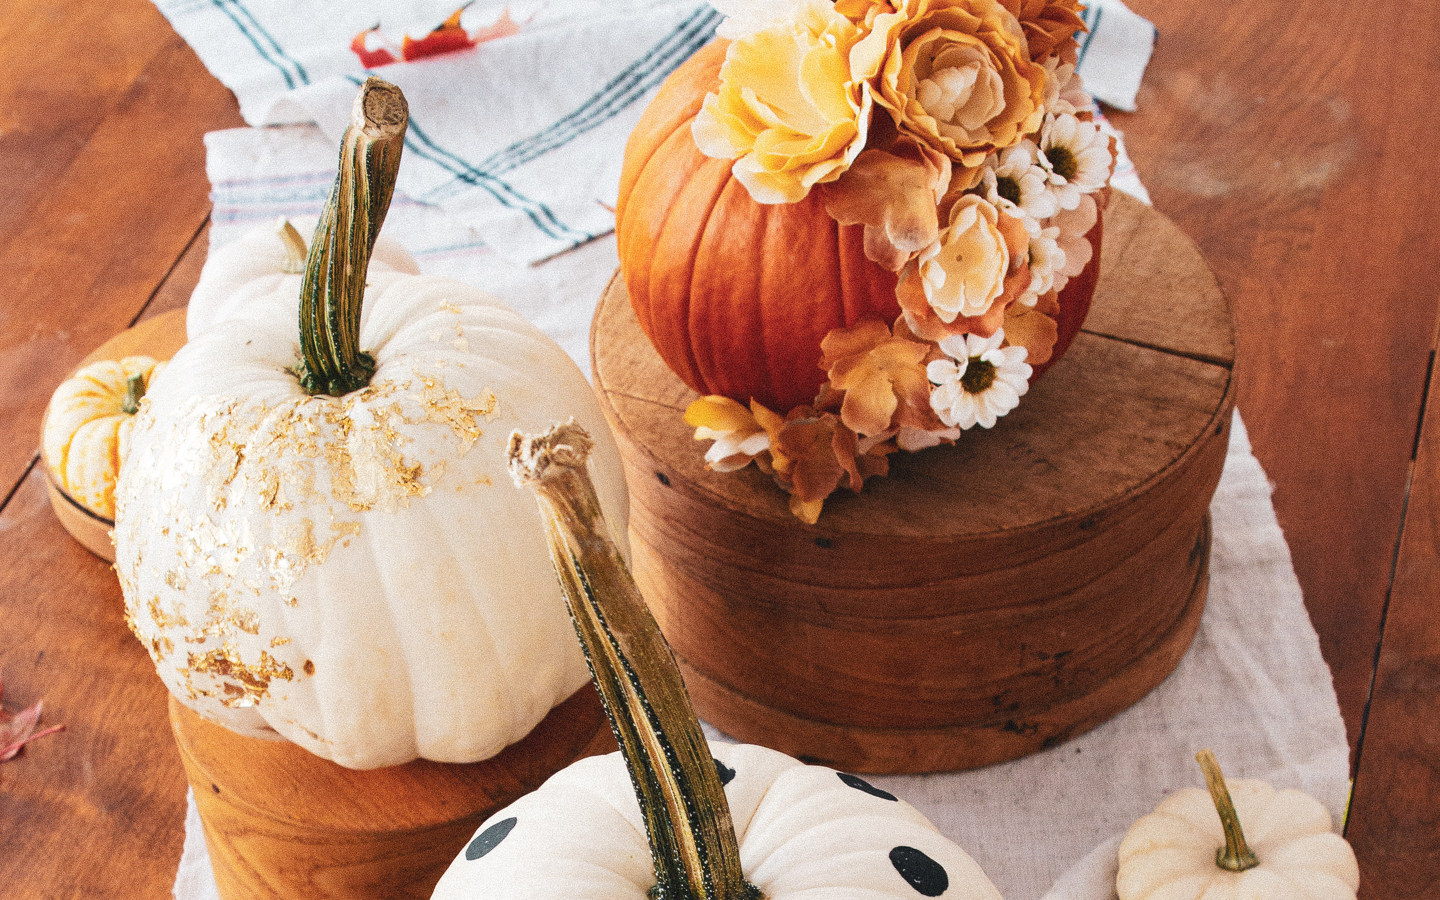
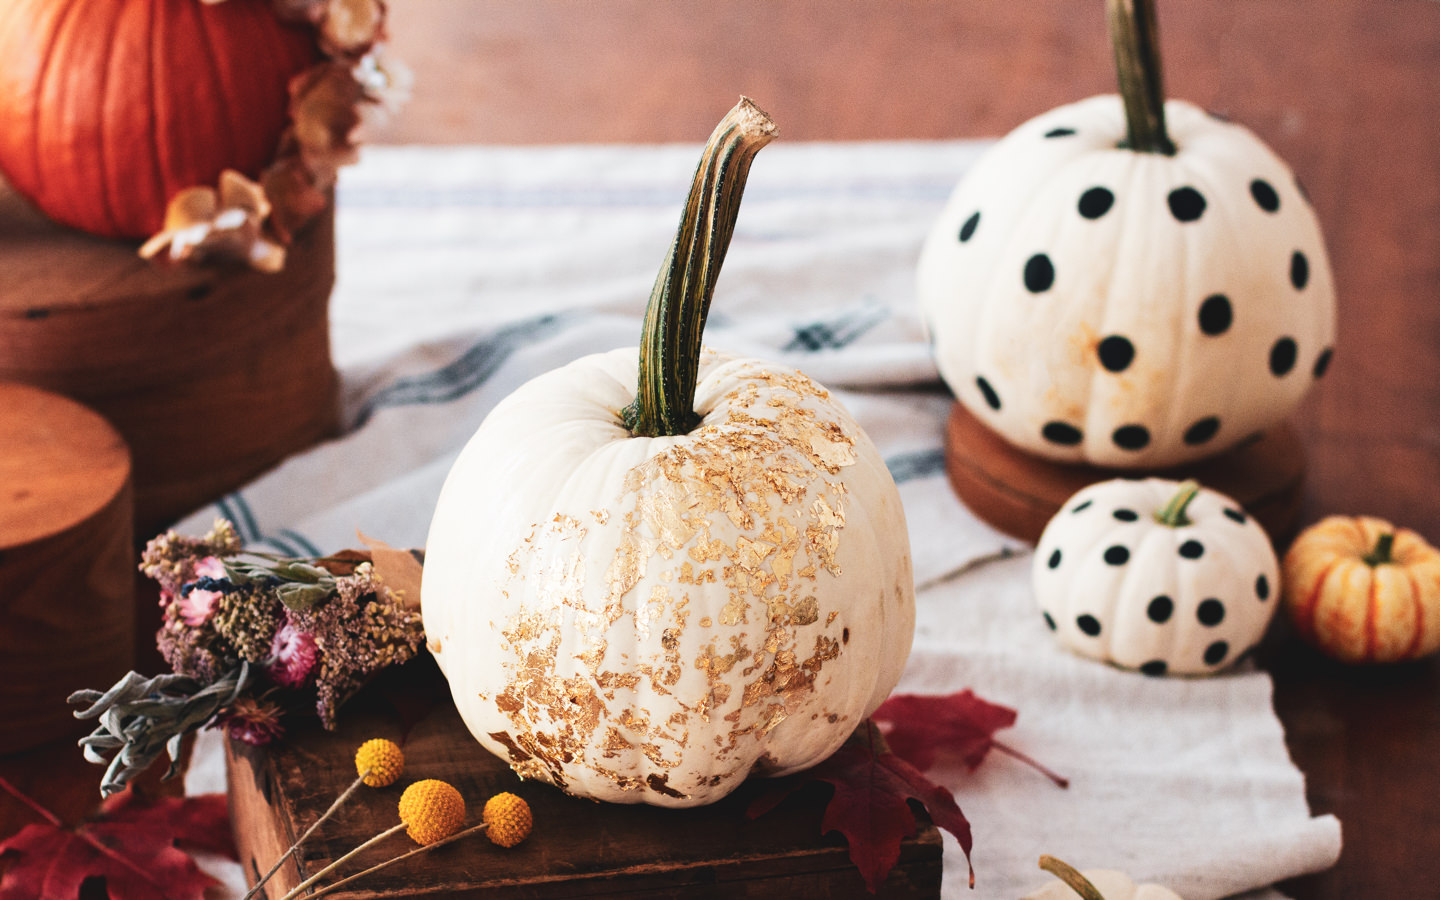
#1 — Gold Leaf Pumpkins
Materials:
White pumpkins
Metal leafing
Liquid adhesive (like ModPodge)
2 sponge brushes
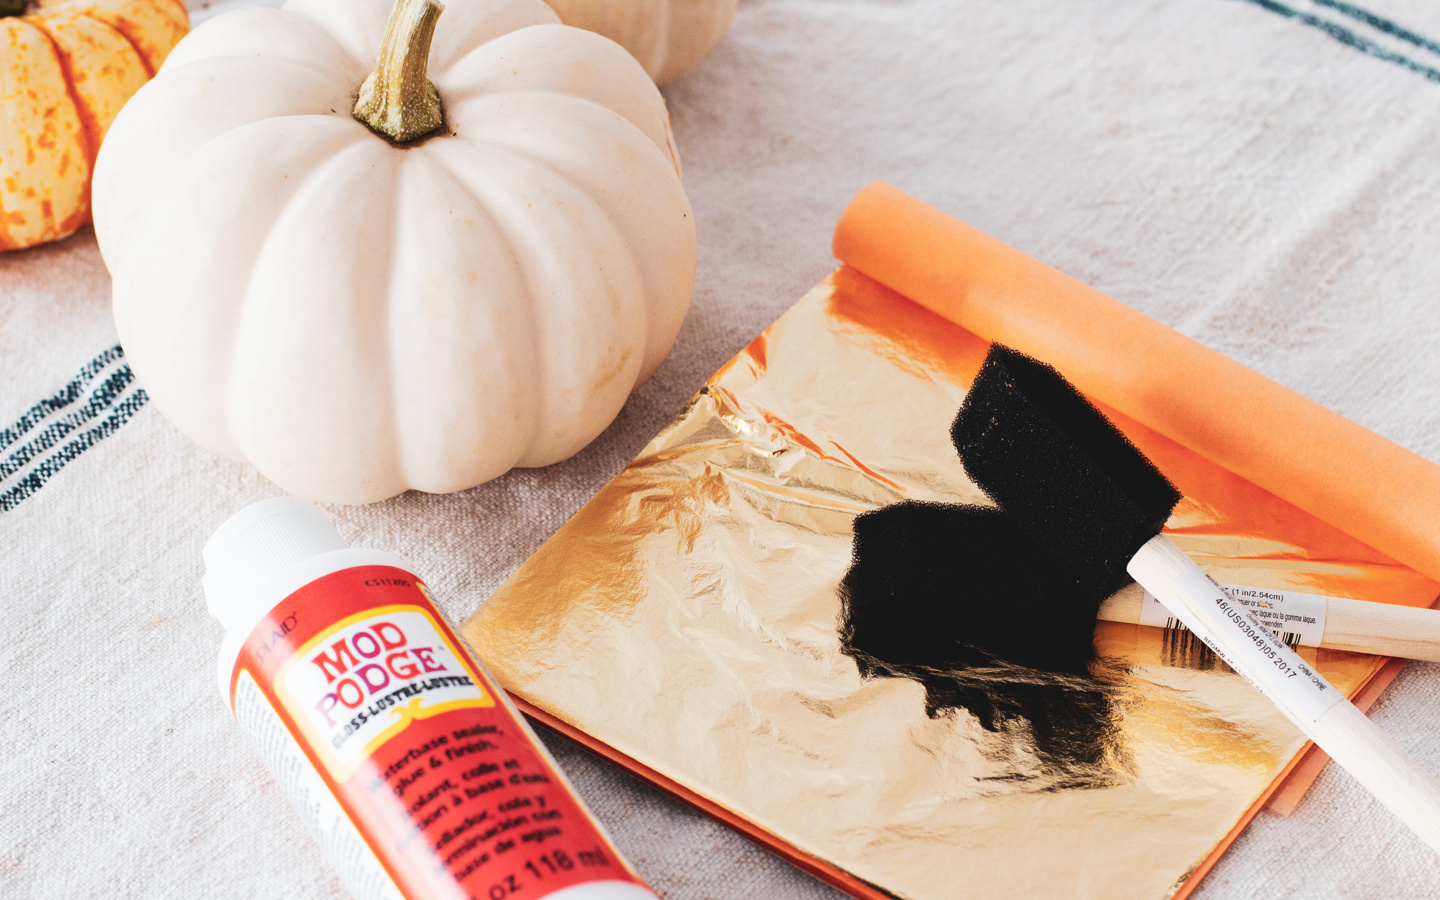
Directions:
- Wash and dry the pumpkins to remove any residual dirt.
- Decide where you want to add the gold leafing. Use a sponge brush to lightly paint a light coating of adhesive over the area and allow to sit 5 minutes.
- Gently take a sheet of the metal leafing and apply it to the area where you’ve brushed adhesive. Use the second sponge brush to tap it down. Repeat until you feel finished and allow leafing to dry completely. Done!
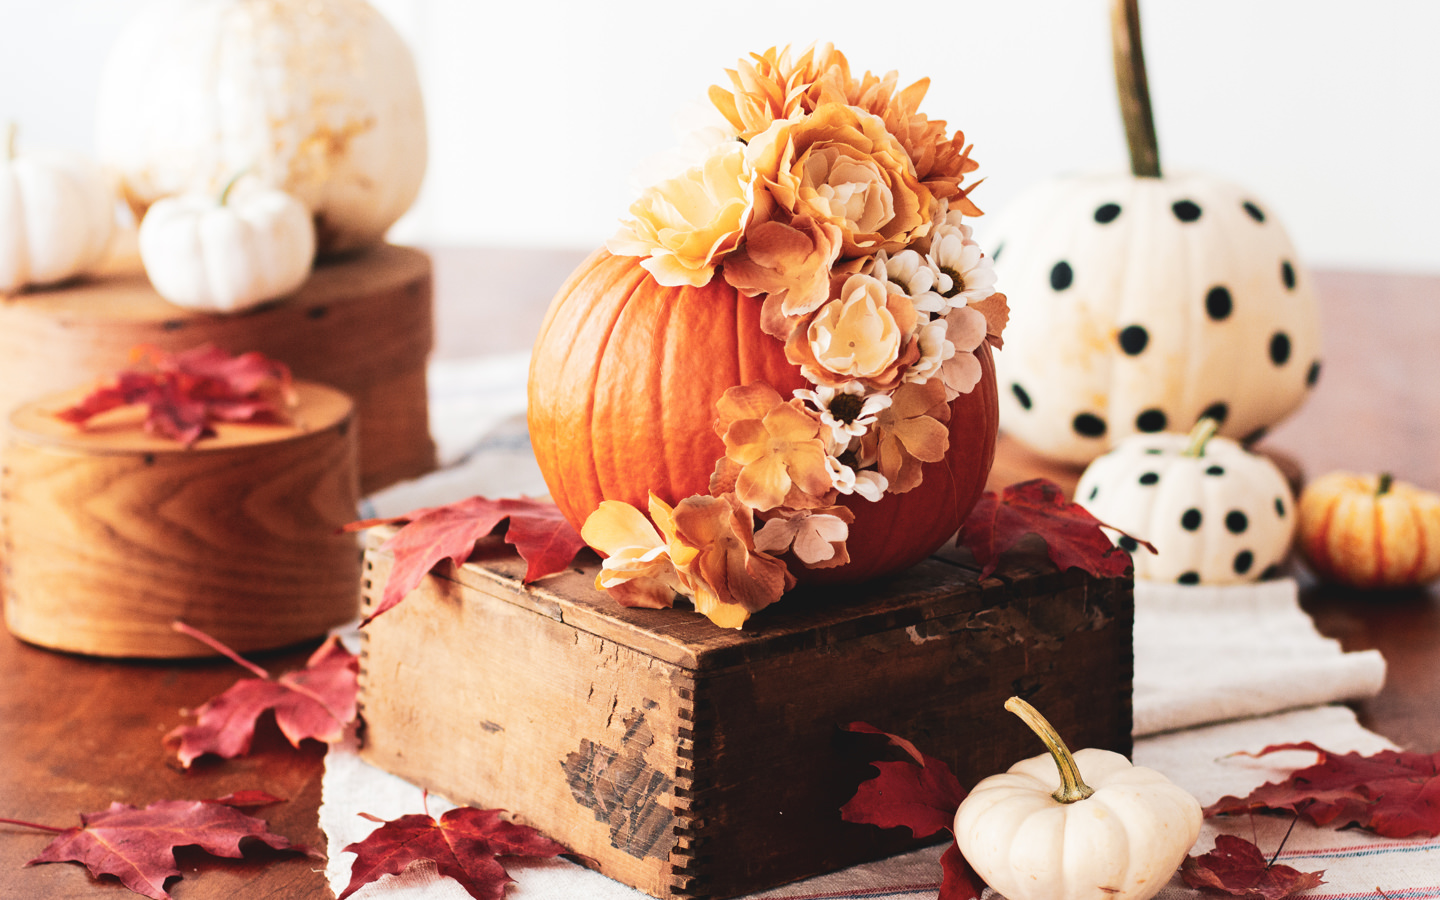
#2 — Floral Pumpkins
Materials:
Pumpkins
Natural dried or faux flowers
Scissors
Hot glue & hot glue gun
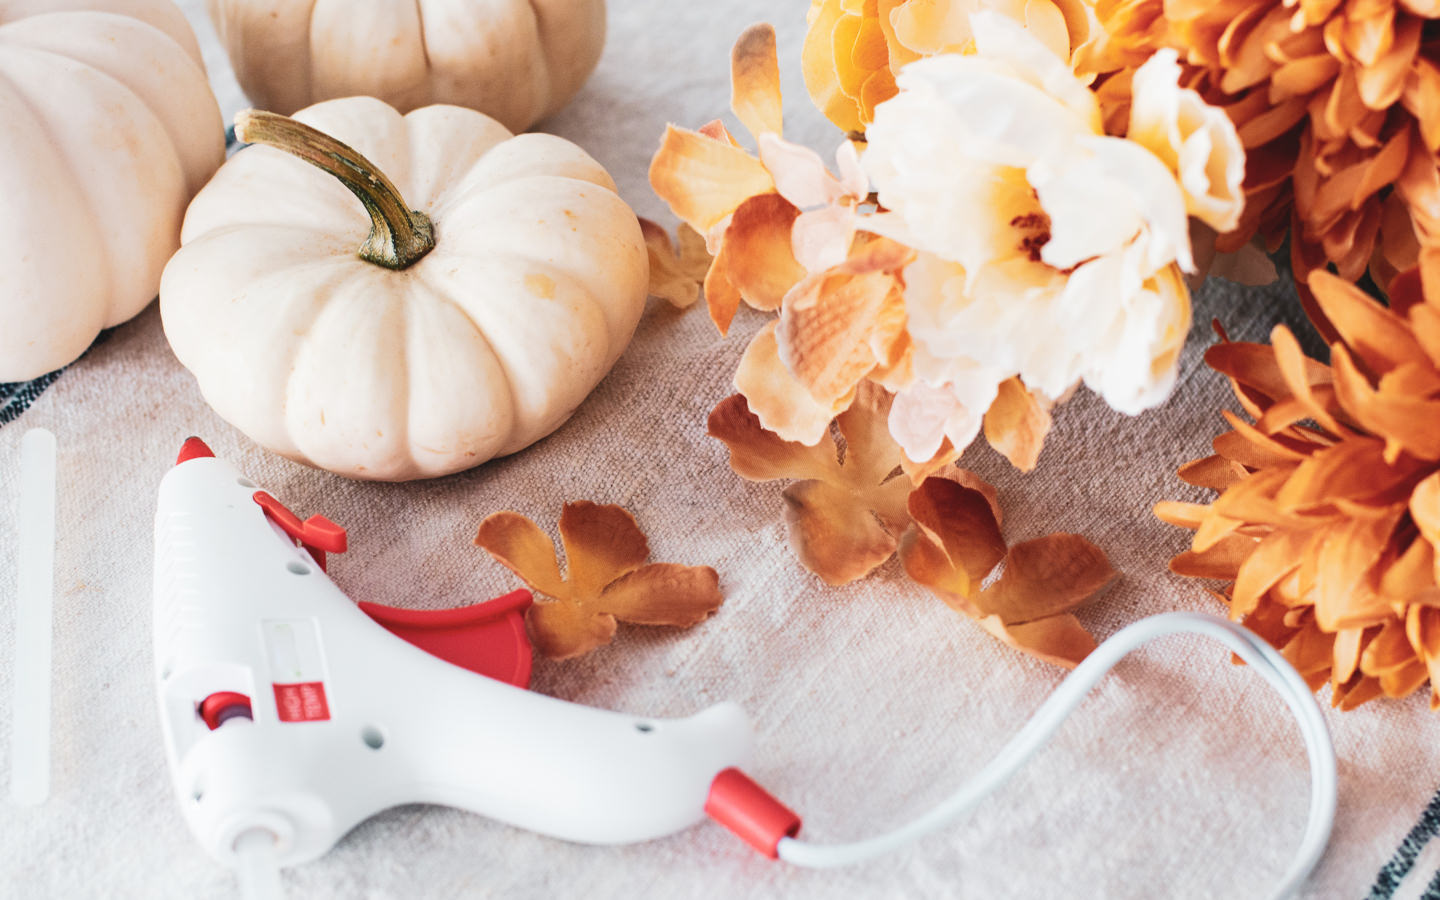
Directions:
- Wash and dry the pumpkins to remove any residual dirt.
- Use scissors to snip the dried or faux flowers close to their stems.
- Once you’ve decided where you’d like to place the flowers, add a dab of hot glue on the back of each flower and adhere to the pumpkin. Repeat until finished.
#3 — Polka-Dot Pumpkins

Materials:
White pumpkins
Acrylic paint
Sponge dot brush
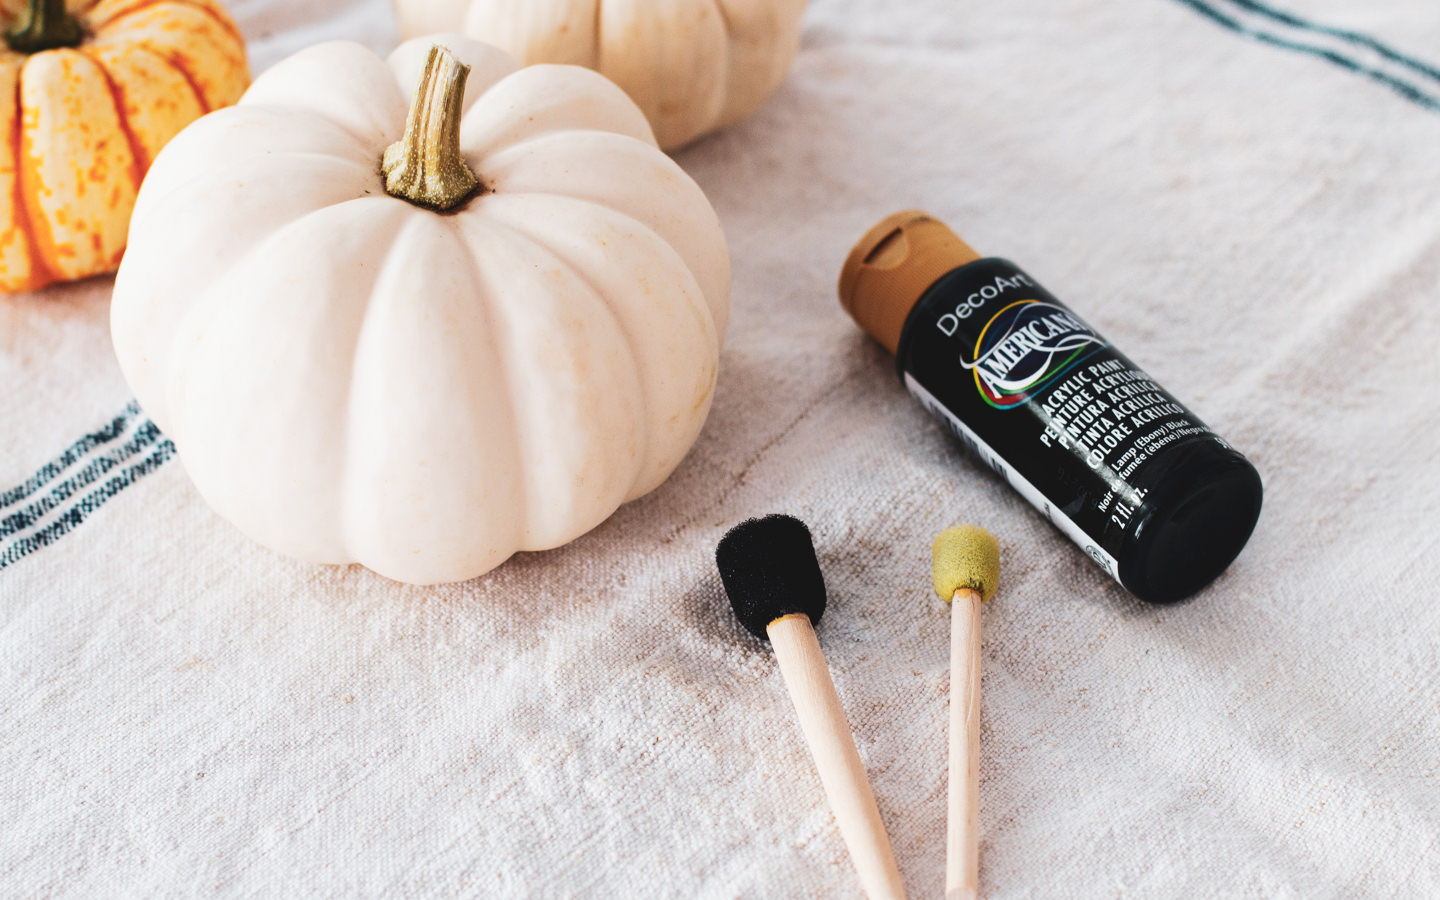
Directions:
- Wash and dry the pumpkins to remove any residual dirt.
- Pour some paint in a small dish and dip the sponge brush into it. Dot the brush on the pumpkin evenly to make a dot. Repeat until your pumpkins are fully polka dotted. Allow to dry. Done!
How are you decorating for Halloween this season? Share your halloween decorating tips with our community by tagging @Avocadomattress or #AvocadoGreenMagazine

Shop Pillows
The Essential Organic Pillow Collection
Gentle, breathable, non-toxic support.